Imagine waking up to the soft scent of basil or brushing your fingers over the velvety leaves of mint while steeping your tea. That’s the quiet magic of a windowsill herb garden. This little green sanctuary fills the air with fresh aromas, while bringing a touch of nature indoors. Even more important, it reminds us that even in the tiniest of space, life can bloom.
When growing your own windowsill herb garden, remember that this is gardening made simple. There’s no need for fancy tools—just a ledge, a patch of sunlight, a few pots, and a little love. In this guide, we’ll walk you through the steps of starting a windowsill herb garden, so you can bring life and warmth into your home, one leaf at a time. Let’s dig into it!
1. Find a Sunny Spot

The first step is to find an ideal spot for your herb garden. Most kitchen herbs love the energy of sunlight, so look for a bright windowsill that gets at least six hours of light. If there’s a space near your east- or south-facing windows, the better. The morning or midday sun can gently touch the plants there.
An easier way to locate a nice spot: feel the warmth on your fingertips as sunlight pools in a corner. If it has a pleasant warmth, it’s likely a good home for your herbs.
No bright windowsill? No problem! There are herbs that thrive in low-light environments, like mint and parsley. They can both grow with a few hours of indirect light. Another alternative is to hang a small LED grow light above your plants; it casts a warm glow like a candlelight.
The perfect spot for your windowsill herb garden should also be cozy, so be mindful of the steam of air that could sneak in from window cracks. Avoid placing your herbs near windows that let in cold air. Otherwise, they’ll shiver. A little fresh air that makes them sway gently is okay, but the area should feel warm to your hands.
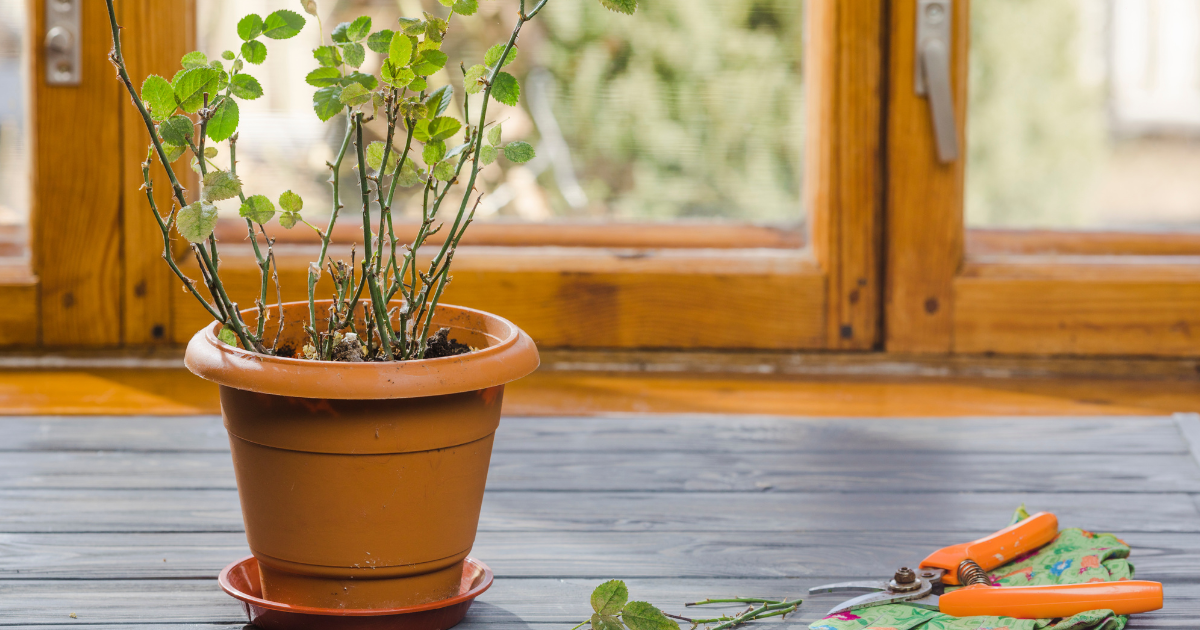
2. Gather Pots and Soil
Now, let’s talk about the tiny homes of your herbs. Containers need to have drainage holes, so extra water can escape. Remember, your herbs don’t like to have soggy feet, and draining excess water also helps prevent root rot.
Terracotta pots are a lovely choice as they’re warm in color and feel timeless in texture. They’re also porous, which means they “breathe” and allow air to reach roots and help the soil dry evenly.
Other options for containers include:
- Ceramic pots – These can add a decorative touch to your home, as they’re available in every style—with soft glazes and cheerful patterns. Just make sure they have drainage holes, too.
- Upcycled containers – If you want to get creative, consider using an old jam jar, tin can, or tea cup. These little touches add character to your home and are gentle on the planet. You may need to drill a hole in the bottom, or you can use them as a cachepot (just place a smaller pot with drainage inside the upcycled one).
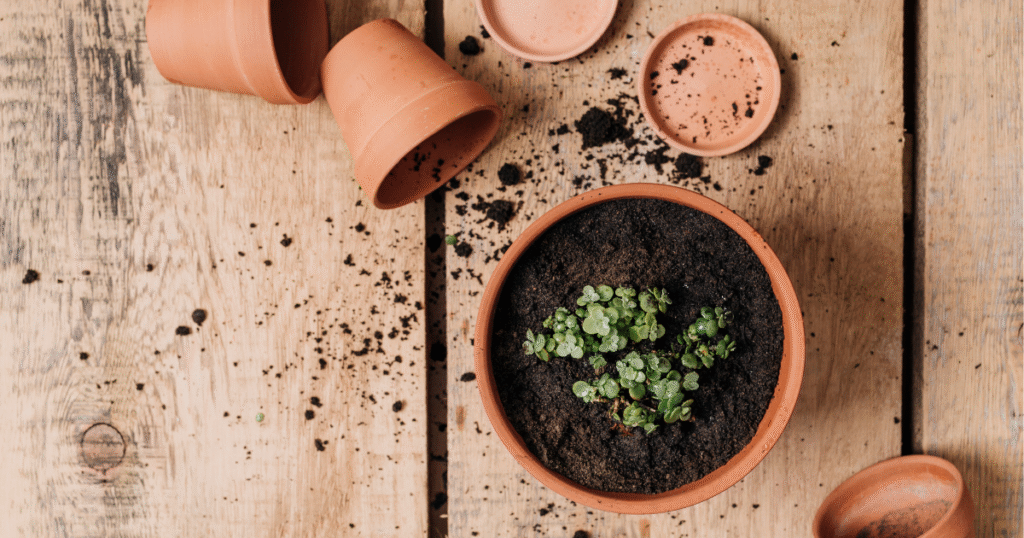
When it comes to soil, use a potting mix instead of garden dirt. The former is usually light, fluffy, and holds moisture while letting air through. A potting mix often contains ingredients like coco coir, perlite, and peat. You can make it extra nourishing by mixing in some compost or worm castings.
When filling your pot with soil, stop at 1 inch below the rim (roughly the width of your thumb). This way, you’re giving the water some room to soak in slowly and preventing spills over the pot’s edges.
3. Choose and Plant Your Herbs
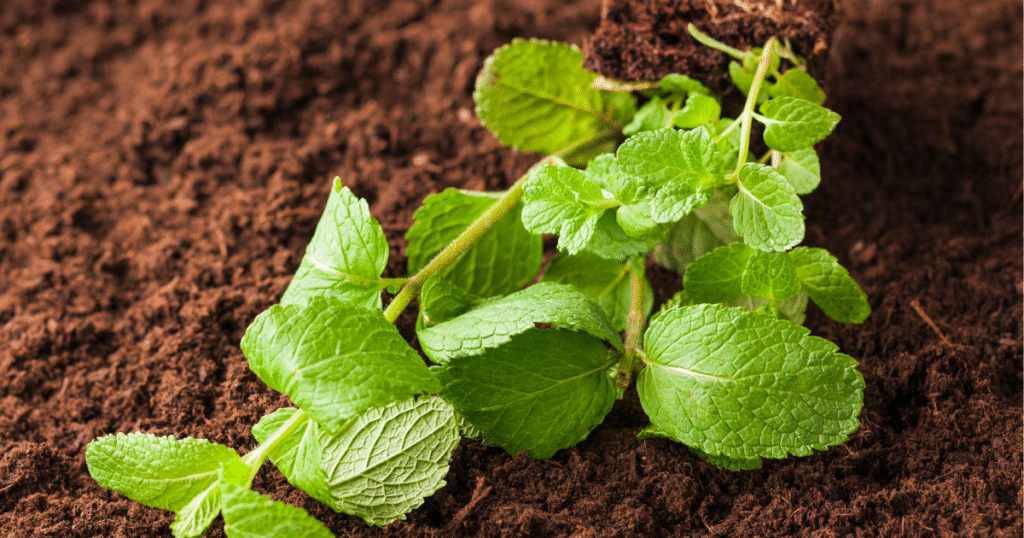
Here comes the exciting part: picking which herbs to grow! To make the entire project feel personal and useful, we suggest that you start with herbs that you can use for home cooking. Some popular options are basil, mint, thyme, and parsley. They stay relatively small, thrive in containers, and bring cozy flavors to the table.
As a beginner, using tiny plants (also called seedlings or starts) is advisable as they will give you greenery faster than planting seeds in small pots. If you have the patience, you can go with the latter and watch the sweet, rewarding process of seeds sprouting into life.
Pro-tip: When buying plants, choose the ones with a lot of green leaves and no flowers. Flowering herbs are heading towards the end of their life cycle.
To plant your herbs, follow these simple steps:
If using seedlings or baby plants:
- Gently remove the seedling from the plastic pot.
- If the roots are tightly coiled, loosen them a little.
- Place the plant in your new pot, so the base of the stem is level with the soil.
- Press the soil gently around the stem to hold it in place.
- Water lightly to help it settle.
If planting seeds:
- Sprinkle a few seeds in a pot.
- Cover them with a thin layer of soil.
- Keep the soil most—not soggy.
- Watch the tiny sprouts emerge after 1-2 weeks.
4. Care for Your Windowsill Herb Garden

Your windowsill herb garden needs regular care. But don’t worry, this task is usually quite relaxing and lets you touch real earth. The golden rule is to not overwater. You can stick your fingertip about an inch into the soil to check if it feels dry. If yes, it’s time to water. If it’s still damp, check back after a day or two.
Tender herbs like mint and basil love their soil moist. They often need water once or twice a week. Woody herbs like rosemary and thyme prefer their soil to dry out a bit between waterings. They may only need water every week or ten days. Again, feel the soil regularly. Only give them water when they need it.
Here are other things to consider to keep your indoor oasis thriving:
- Sunlight: Herbs love light, so keep them in their sunny spot as much as possible. If they start to have long stems and few leaves, it’s a sign that they need more sun. Rotate the pots every week, so all sides of the plants will receive sunlight.
- Feeding: Every month or two, give your indoor herb garden a boost with a little organic liquid fertilizer. It’s like a refreshing cup of tea for them. However, if you added compost to the soil when planting, feeding them with a liquid fertilizer isn’t urgent.
- Pruning: Look for 5-6 sets of leaves on the stem of your plant. Once you find that many, it’s ready for a trim. Find the top pair of leaves (the smallest, newest ones), and pinch them off. This pruning helps them grow nice and full. Also, try not to let the herbs’ flowers bloom because they can make the leaves taste bitter.
5. Add Cozy Touches to Your Windowsill Herb Garden
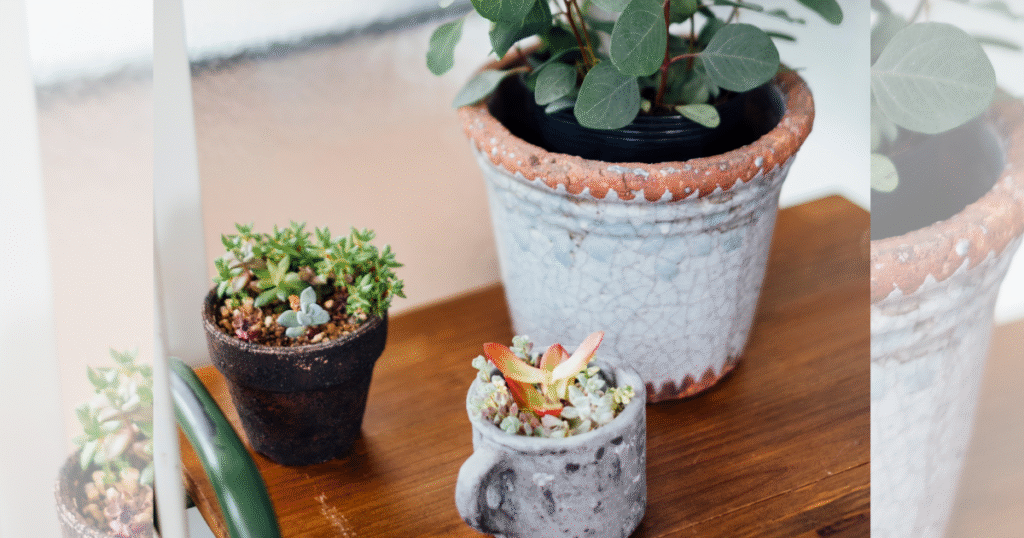
Beyond adding plants, you can turn your windowsill into a truly inviting and cozy nook. Choose pots that feel like you. They could be soft pastel planters, mismatched ceramic mugs, or charming handmade pots. Place them on a wooden tray to add some homey texture.
Next: lighting. You could add a string of warm fairy lights above the window or a slender table lamp that gives a gentle glow. Keeping a small watering can and a pair of vintage scissors is also handy for tending your garden, and they become part of the decor, too!
Also, a cup of tea beside your plants invites you to pause, sip, and nurture slow living. Just imagine sipping your homegrown tea infused with mint or chamomile as the sun sets. All these little touches help create a space that feels yours and nurtures the soul.
The Heart of It
Windowsill herb gardening is a simple joy that could give you quick moments of calm. Herbs don’t ask for much, but they can make any space feel more alive. So go ahead and start small. Even if you just have one pot to spare, that little bit of green can do wonders for you and your home. Plus, it’s reassuring to know that food can grow from your hands—it’s nature’s cycle right in your living room (or kitchen)!